 By Judith Yamada, Kitchen Maven
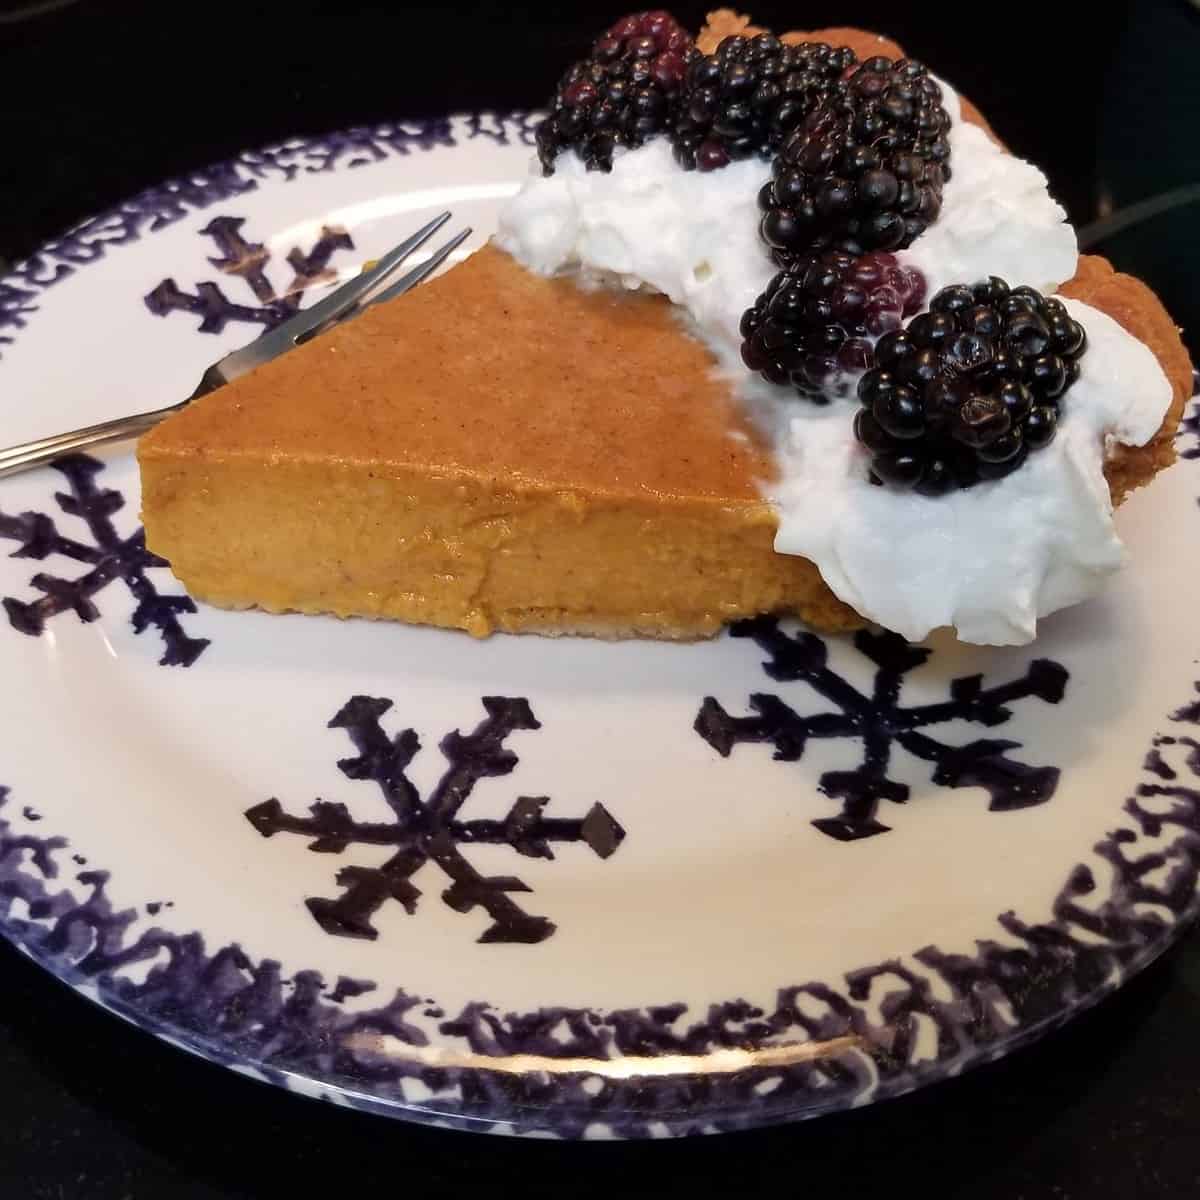
As far back as the first century, the Roman cookbook, “Apicius”, refers to recipes made with a pie case. The first reference to pie in a written source was in the 14th century Oxford English Dictionary. Early pies were flat, round, and freeform pastries known as galettes. Crusts consisted of ground oats, wheat, rye or barley with a filling of honey. The eating of mince pies during festivities is a tradition that dates back to the 13th century. Early recipes intentionally focus on the filling over the surrounding cases, and medieval pie crusts were often baked, without filling, to create a “pot” of baked dough with a removable top crust, hence the name “pot pie”. Until the 15th century, all pies were expected to contain meat or fish. Then, in medieval England, an early type of unsweetened dried fruit pies, called tarts, became popular. Sugar wasn’t used due to its prohibitive price and scarcity. However, when the price of sugar dropped during the 16th century, pies containing fresh fruit appeared. Sweetened fresh fruit pies were so highly regarded that Queen Elizabeth I was often given gifts of fresh quince or pear pies for New Years. Pumpkin pies were said to be eaten by “people of substance” in England during the mid-1600s. And it was introduced by early colonists, in America, where it became a national dish. American settlers favored pies over breads because they took less flour, didn’t require a brick oven in which to bake, and all sorts of other ingredients could be added to pies to stretch them for more servings. Early American pies had thick, rough flour and suet crusts. As immigrants arrived from various countries and cultures, bringing their recipes along, pie baking became more refined, and pies became more interesting. With the availability of molasses, maple syrup, dairy, squash, and sweet potatoes, more distinctive and unique pie recipes became available. It’s pie time, and we always eat pumpkin pie for Thanksgiving Breakfast. Happy Thanksgiving! Enjoy some pie!
 Honey-Lemon Buttermilk Pie (and Eggnog Pie)
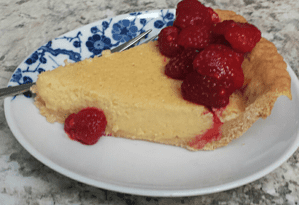
This lightly sweet tangy pie can also be made in other fresh citrus flavors or try the Eggnog Pie option below. Substitute real maple syrup for the honey, in the eggnog version, if you like*
Pastry for single crust pie**
Filling:
4 large eggs, lightly beaten
1 Tablespoon flour
2/3 cup honey
¼ cup fresh lemon juice
¾ cup buttermilk
1/3 cup salted butter, melted
2 teaspoons finely grated lemon zest
(Yellow only)
1 teaspoon real vanilla extract, optional
Roll or press the pie dough to fit into a 9” pie pan. Crimp edges or press them with the tines of a fork in a few places, over bottom of crust in pan. Refrigerate the crust 15 minutes.
Place oven rack in center position. Preheat oven to 375 F. Spray cooking spray on a piece of foil and loosely fit it, sprayed side down, over pie dough. Sprinkle 1 cup of pie weights or dry uncooked beans evenly onto the foil, for weight, so the piecrust doesn’t bubble or shrink from the pie pan while baking. Bake the empty crust 8 minutes. Remove piecrust from oven. Remove foil and beans.
Reduce oven temperature to 350 F.
Strain the lightly beaten eggs through a small wire strainer into a medium bowl. Sift 1 Tablespoon flour into beaten eggs: whisk in the honey. Stir in the lemon juice and buttermilk, then the melted butter and zest. Whisk together the filling ingredients well. Allow mixture to sit a few minutes so any bubbles can dissolve.
Place partially baked crust on a sturdy metal baking sheet. Stir filling lightly and pour it into the piecrust. Place baking pan on middle rack of oven. Bake for 20 minutes in preheated oven. Carefully, rotate baking pan. Bake another 15-20 minutes, until the center has set. It should be only a tiny bit jiggly, but not liquid. Filling will continue cooking while cooling. Allow pie to cool to room temperature (about 1 hour). Cover lightly with wax paper and chill at least 2 hours. Serve wedges with whipped cream, berries, or whatever fresh/canned/frozen defrosted fruit you have. Keeps well in the refrigerator, covered, about 5 days. Serves 8 or more.
*For a winter treat, make Eggnog Pie: substitute 1 cup eggnog for the buttermilk and juice, decrease the honey to ½ cup (or substitute with ½ cup real maple syrup), and substitute vanilla extract for the zest. Sprinkle top with ground or freshly grated nutmeg before baking. Follow baking instructions as above. Serve with whipped cream or whole berry cranberry sauce.
**Recipes for Single Pat in Pan Pie Crust and Everyday Pie Crust are included in this article.
Original: Kitchen Maven
 Maple Pumpkin Pie
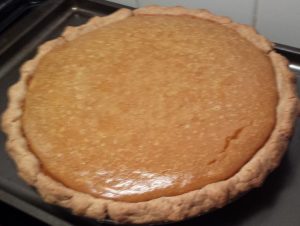
Pumpkin Pie is my absolute favorite. And one sweetened with real maple is even better. Beginning each October, once there’s a chill in the air, I bake one monthly until the spring. This is my own, quick, and simple recipe. You can put it together and into the oven in around 20 minutes. We like it best well chilled, for breakfast, topped with a little Chantilly cream and a few fresh berries, on Thanksgiving morning.
9 ½ – 10-inch pie pan and metal baking pan. Set oven rack to bottom third of oven. Preheat to 350 F.
Single Pat in Pan crust:
1 ½ cups whole wheat pastry flour OR white whole wheat flour
1 teaspoon sugar
½ teaspoon salt
¼ teaspoon baking powder
½ cup neutral vegetable oil (such as avocado oil, extra light olive oil or canola oil)
¼ cup cold unflavored milk
Pumpkin Maple filling:
3 large eggs
1 can plain pureed pumpkin (about 15 ounces)
1 cup evaporated milk OR fresh milk OR any unsweetened plant-based milk
2/3 cup real maple syrup
2 teaspoons vanilla extract
¼ teaspoon salt
1 ½ teaspoons pumpkin pie spice*
1 teaspoon corn meal, optional
In a large bowl, combine the flour, sugar, ½ teaspoon salt and baking powder. Whisk well. In a smaller bowl, whisk together the oil and cold milk until they combine into a homogenized creamy mixture. Pour this over the dry ingredients. Mix well with a spoon until it forms a ball of dough. Press it into a disk covering the bottom of the pie dish. Using a piece of plastic wrap (to spread easier and prevent sticking) spread the dough evenly in the pie pan so it’s thin on sides and bottom and thicker at top for an edge. Press and spread the dough from the center to the sides of the dish. The bottom of a one cup measure is helpful to spread the dough evenly. Crimp the edge or press the edges with a fork. If using, evenly sprinkle cornmeal on crust bottom. Chill pie dough in refrigerator while preparing filling.
In a large bowl, beat eggs with a whisk. Beat in the pumpkin, followed by the milk, maple syrup, vanilla, ¼ teaspoon salt and spices – whisking well after each addition. Remove pie pan from refrigerator. Place it on the metal baking pan. Pour filling into crust. There should be exactly enough to fill the crust. If there’s extra, bake it in oven safe custard cups for about 30 minutes. Place the pie and metal pan onto the oven rack in bottom third position. Bake 30 minutes. Carefully rotate the metal pan while in the oven, so pie cooks evenly. Bake another 30-40 minutes. Pie is done when the filling puffs around the edges, and the center is just a bit wobbly. It will continue cooking as it cools. Don’t over bake or filling will crack, burn, or become grainy. Cool on rack for one hour. Chill at least two hours before serving. 6-8 servings.
*If you don’t have pumpkin pie spice, substitute this spice mixture: ¾ teaspoon ground cinnamon, ½ teaspoon ground ginger, ¼ teaspoon ground nutmeg, pinch ground cloves OR ground allspice.
Original: Kitchen Maven
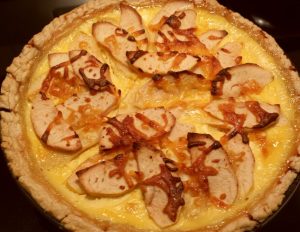 Love apples in just about anything, especially roasted with other fruits or baked in breads and pies, but also in chicken salad, soups and roasted pork or bean dishes.
Here is my version of a delicious, breakfast friendly, Apple Cheddar Tart I discovered a few years ago while perusing recipes. It’s so savory sweet and delicious – with no added sugar – what more can I say but – try it.
APPLE AND CHEDDAR TART
Preheat oven to 350 degrees F.
9” tart pan or 10” pie pan*
Single unbaked pie crust OR refrigerated unbaked pie shell
1 cup Tillamook sharp Cheddar Cheese, coarsely grated
1-cup milk (any kind – unsweetened)
½ cup heavy cream OR unsweetened coconut cream OR evaporated milk
1 large egg + 1 large egg yolk
¼ teaspoon fine salt
3 medium apples, peeled, cored, and thinly sliced
Spread uncooked pie crust into tart pan (or pie pan) and press it to fit the pan. Poke the pie shell on bottom and sides, with a fork, to prevent crust bubbling. Bake the tart shell, blind, for 8 minutes or according to package directions. Cool for a few minutes. Combine milk, cream, whole egg, egg yolk and salt. Whisk well. Stir in ¾ of the shredded cheese. Pour liquid mixture into tart shell, topped by artfully arranged apples slices, sprinkled with remaining shredded cheese. Bake around 25 – 35 minutes or until knife inserted comes out clean. Cool. Serve warm or at room temperature. 6 to 8 servings
*If using a smaller pie pan, the cooking time will increase to 45-55 minutes because the apples will need to be stacked into the pie pan.
Everyday Pie Crust
This straightforward pastry recipe comes together quickly and contains only a few simple ingredients. Prepare it with all shortening or half shortening/half chilled butter. Use whole-wheat pastry flour or all-purpose flour. Bake as directed in your pie recipes. It makes enough pastry for a 2-crust 9” pie.
2 cups flour (all-purpose or whole
wheat pastry flour)
½ teaspoon salt
1 cup shortening
OR ½ shortening & ½ butter
½ cup ice water
In a large bowl, whisk together flour and salt. With a handheld pastry blender or your hands, work in the shortening (and cold butter, if using) until mixture has texture of large crumbs. Mix in water, stirring to wet all. Press the dough together to form a smooth ball. Cut the ball in half for two crusts. Wrap in plastic wrap and refrigerate at least 3 hours. When thoroughly chilled, roll out each dough ball between two sheets of wax paper or parchment. Bake according to pie recipe directions.
Original Source Unknown
Now’s a wonderful time to purchase my new cookbook, “Thrifty Comfort Cooking for Challenging Times”, for yourself or as a gift. Remember, all author royalties on retail sales, go directly to the Oregon Food Bank to assist families experiencing food insecurity.
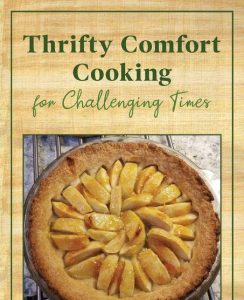 These recipes and over 100 others are in my recently published cookbook “Thrifty Cooking for Challenging Times” and available at
100 % of author royalties on retail sales of this cookbook will benefit the Oregon Food Bank and our neighbors affected by food insecurity.

